Windows 10 Error 0xc000021a fix
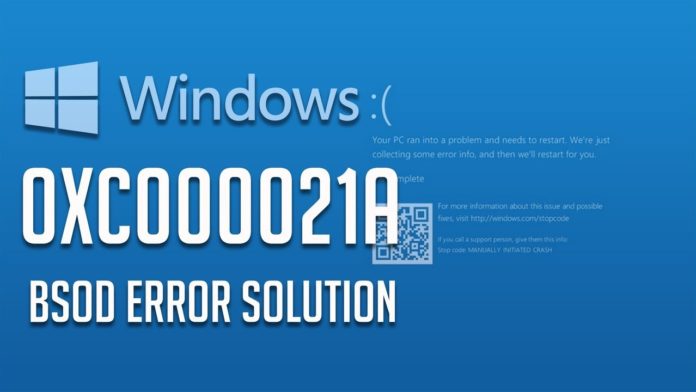
The 0xc000021a error stands for “STATUS_SYSTEM_PROCESS_TERMINATED” – basically meaning that Windows encountered an error so deep within the system that it was unable to continue running.
It displays as a BSOD (Blue Screen of Death) when you turn on your system, and is generally triggered when you upgrade a Windows 10 PC.
Blue Screens of Death are a famous element of Windows (with many people citing the problem starting with Windows 95) – causing the system to unexpectedly crash (and show a “blue” error screen).
Whilst trivial for many people, the BSOD actually represents a problem deep within the heart of the Windows system.
Either some element of the software stack, or its connection to the system’s hardware, has caused an error so grave that Windows cannot continue operating.
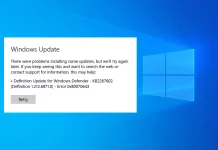
The most typical BSOD errors occur as a result of driver issues. This error is caused by a botched Windows Update.
Causes
The main causes of the error include:
- Windows Update didn’t complete successfully (but left files on your system)
- The Update files installed on your PC did not completely overwrite the old ones
- Your system may have blocked certain installation processes from completing (antivirus etc)
Typically, the following files will be at fault:
- winlogon.exe – responsible for logon/log off protocols within Windows 10. If it’s damaged in any way, it will cause issues such as the one you’re experiencing
- csrss.exe – used by Windows to manage graphical interactivity for the system. If this is damaged, corrupted or out of date, errors such as you’re experiencing will show
Because it’s a BSOD (otherwise known as a “STOP” error), we will need to ensure we can apply fixes outside the normal operating environment of Windows.
This can be achieved using the steps below:
Solution
The way to fix the error is to make sure that you have all the “startup” files/settings repaired properly…
1. Perform “Startup Repair”
The first step is to ensure you’re able to run a “startup repair” on Windows 10.
Startup repairs are designed to provide a clean set of “boot” records – allowing for resolutions to the likes of issues as you’re experiencing…
- If you can gain access to your system, you need to restart it into “Startup Repair” mode
- To do this, you need to click onto “Start” > “Power” button (left “charms” menu) + hold SHIFT and press “Restart”
- This will bring up the “Windows Recovery Environment” (blue screen) which will provide a number of options with the system
- Click on “Troubleshoot” > “Advanced Options” > “Startup Repair”
- This will perform the repair (will take some time) and then restart your system
- If the problem persists, move onto step 2
- If you cannot gain access to your system (IE the error appears after boot), you need to gain access to “Startup Repair” through the “forced boot” method
- Unlike previous versions of Windows, W10 cannot just be rebooted into the “Recovery Environment” screen – it has to be triggered
- The best way to do this is boot up your system 3 times (each time, it needs to fail)
- On the fourth time, it should show the Recovery Environment (blue) screen
- From the options that show, click on “Troubleshoot” > “Advanced Options” > “Startup Repair”
- Let the process occur and then it should restart your system
2. Resolve BCD, SFC and DISM issues
If the above does not work (which won’t for 40% of cases), you’ll need to resolve the various issues with many of the core elements of the Windows system.
To do this, you need to gain access to CMD – which has to be done through the “Windows Recovery Environment” screen we should have seen in step 1…
- If you have access to Windows, click onto “Start” > “Power” > hold “SHIFT” + click “Restart”
- If you don’t have access to Windows (IE the error shows at boot), you’ll want to boot up 3 times – on the fourth, it should show the recovery environment screen
- This will bring up the blue “Windows Recovery Environment” screen, from which you should click “Troubleshoot” > “Advanced Options” > “Command Prompt”
- This will load up the black CMD window which most people should be familiar with
From here, you’ll then want to type the following commands:
- “sfc /scannow” + press “Enter”
- “DISM /Online /Cleanup-Image /RestoreHealth” + press “Enter”
- “bootrec /rebuildbcd” + press “Enter”
After doing this, restart.
If the error was with the boot records of Windows, you should see it repaired.
3. Perform “Repair” Install
Now, Windows 10 doesn’t work in the same way as Windows 7/8.
Back the day, you used to be able to perform a “Repair Install” – which meant that if you had any issues with your system, you’d basically be able to keep all your files etc – whilst Windows would totally refresh itself.
This has been replaced in W10 with the “Reset Installation” feature.
Reset installations are difficult to access, but do provide you with the ability to “flush” out any of the bad updates from your system – which should solve the blue screen error you’re experiencing…
- If you don’t have a valid Windows 10 installation medium (DVD or USB), you need to obtain one
- To do this, browse to your favourite search engine and look for “Windows 10 Media Creation Tool”
- Click on the Microsoft link and download the tool (it’s not very big)
- After saving the tool to your system, open it
- Select “Create installation media for another PC”
- Choose the appropriate language and system architecture (make sure it’s exactly the same as the system you have installed)
- Follow the steps to create the media (USB strongly recommended)
- Restart your system and boot it from the USB
- On the initial setup screen, enter your language and other preferences, then select Next
- Select “Repair your Computer”
- On the “Choose an Option” screen, select “Troubleshoot”
- From the list that appears, click on “Reset This PC”
- Resetting your system keeps your personal files but often removes applications and drivers you may have added to the system
- Apart from the inconvenience of having to refresh these files, you should get the system working again with it
Obviously, this seems like a lot – whilst you would be able to get the installation running if you had access to the system itself, if you don’t – the above is the next best process.
At this point – if the error persists, it means that you have further issues which have to be resolved (which could also indicate hardware difficulties).
Whilst there are a number of ways to do this, the real underlying issue is that it’s likely you have some specific issue with your computer or setup. To this end, you’ll be better talking to someone with actual experience of your specific system, either from a direct hands-on approach, or through the Internet.
You should look for someone to help on one of the help communities (Microsoft Answers will be good for this), as well as any further issues with the likes of local repair guys. Obviously, a repair guy is likely going to incur cost.
by Richard Peck


