


It is not necessary to manually install WordPress as most Hosting provider offers QuickInstall, however, if you are having trouble with this method, this article will cover the steps needed to install WordPress manually.
Step 1: Download WordPress
- Download the WordPress package to your local computer from http://wordpress.org/download/.
- Unzip the downloaded file to a folder on your local computer.
Step 2: Upload WordPress to Hosting Account
Upload the folder via FTP or File Manager to root folder.
Step 3: Create MySQL Database and User
WordPress stores its information in a database. Therefore, a database will need to be created.
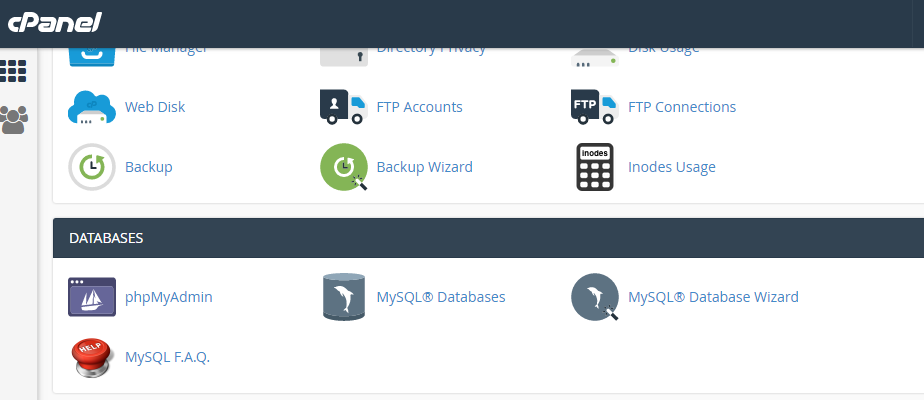
- Log into cPanel.
- In the Databases section, click the MySQL Database icon.
- For Step 1: Create A Database, enter the database name and click create database.
- Now goto MySQL Users and New user.
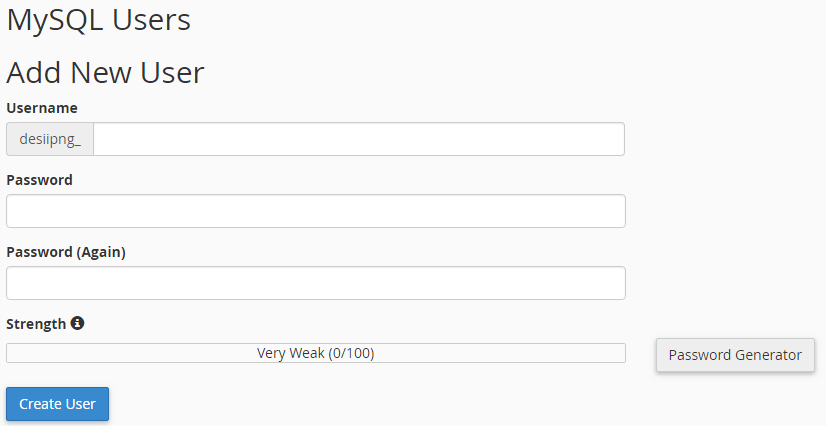
- Now goto Add User To Database.Select the user you created recently and Assign to new database.Check “ALL PRIVILEGES” and save changes.
Step 4: Configure wp-config.php
The wp-config-sample.php file contains the database information and tells the WordPress application which database to pull information from. This step must be completed to ensure the correct database information is associated with the WordPress installation.
The wp-config-sample.php file can be found in File Manager in the folder where WordPress is installed. To modify the file:
- Log into cPanel.
- In the Files section, click the File Manager icon.
- In the pop-up box, select Web Root and check the box for Show Hidden Files (dotfiles), then click Go.
- From the left navigation menu in File Manager, click public_html to expand the folder.
- Click the folder containing the WordPress installation.
- On the right side of the File Manager screen, locate the wp-config-sample.php file.
- Right click on the file, select Rename and change the name of the file to wp-config.php. Click the Rename File button.
- Right-click on the wp-config.php file and select Code Edit. When the file opens, look for the following information:
define(‘DB_NAME’, ‘database_name_here’);
/** MySQL database username */
define(‘DB_USER’, ‘username_here’);/** MySQL database password */
define(‘DB_PASSWORD’, ‘password_here’);- Replace database_name_here with the name of the database you created
- Replace username_here with the username of the database you created.
- Replace password_here with the password of the database that you created.
- When done editing, click the Save Changes button, then close the file.
-
Step 5: Run the Installation
Open a new browser window and go to the installation page to run the installation script. Depending on where you installed the script, you will find it at either of the following URLs:
http://example.com/wp-admin/install.php
http://example.com/blog/wp-admin/install.php
Be sure to replace example.com in the example above with your actual domain name.


